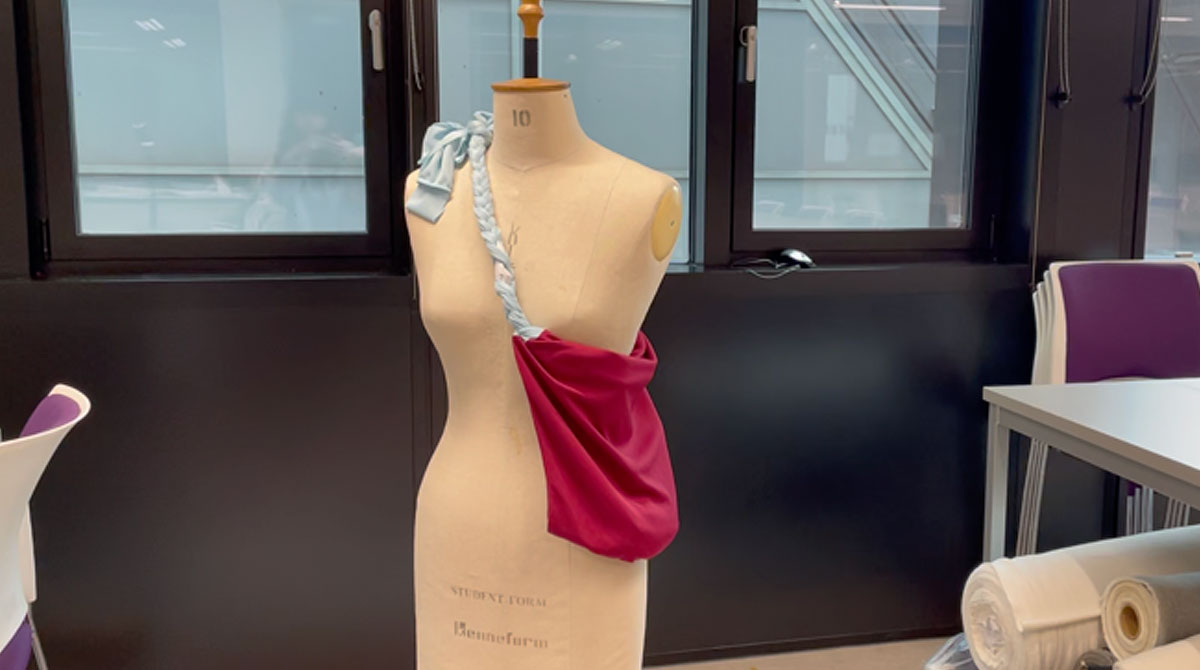
The tutorial provides step-by-step instructions, complete with illustrations, showing how to repurpose a shirt into a functional bag without the need for sewing. The process involves simple techniques like cutting and knotting, making it accessible to all skill levels. This project aligns with contemporary trends of reducing waste and promoting creative reuse in fashion.
Step-by-Step Instructions
You can also follow our step-by-step guide to create your own shoulder bag using simple techniques.
Materials and Tools:
- An unwanted long-sleeve shirt
- A pair of scissors


Step 1
Lay your shirt flat.

Step 2
Cut both sleeves into three strips.

Step 3
Plait both sleeves into three-strand plaits.

Step 4
Knot the two plaits, then this is the strap for the bag.

Step 5
Cut the bottom seams of both front and back into strips together simultaneously.

Step 5 (b)
After you finish cutting, this is how the bottom of the bag will look.

Dumpling bag
If you want your bag looks like a dumpling bag, you can cut the bottom of the shirt in a curved shape.

Step 6
Turn the bag inside out.
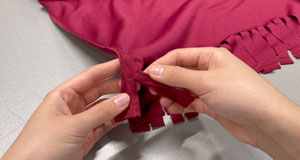
Step 7
Take the first strips on each side.
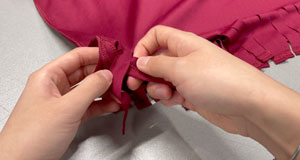
Step 8
Take one more strip on the right, and cross it over the strip next to it.

Step 9
Take one more strip on the left, and cross it over the strip next to it.
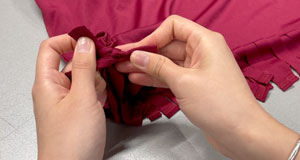
Step 10
Knot the two outermost strips.
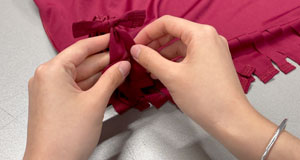
Step 11
Keep plaiting with the two inner strips.

Step 12
Repeat steps 8 to 11 until there is no more strips left.

Step 13
Turn the right side of the bag out and adjust the bottom of the bag.
The completed crossbody bag
