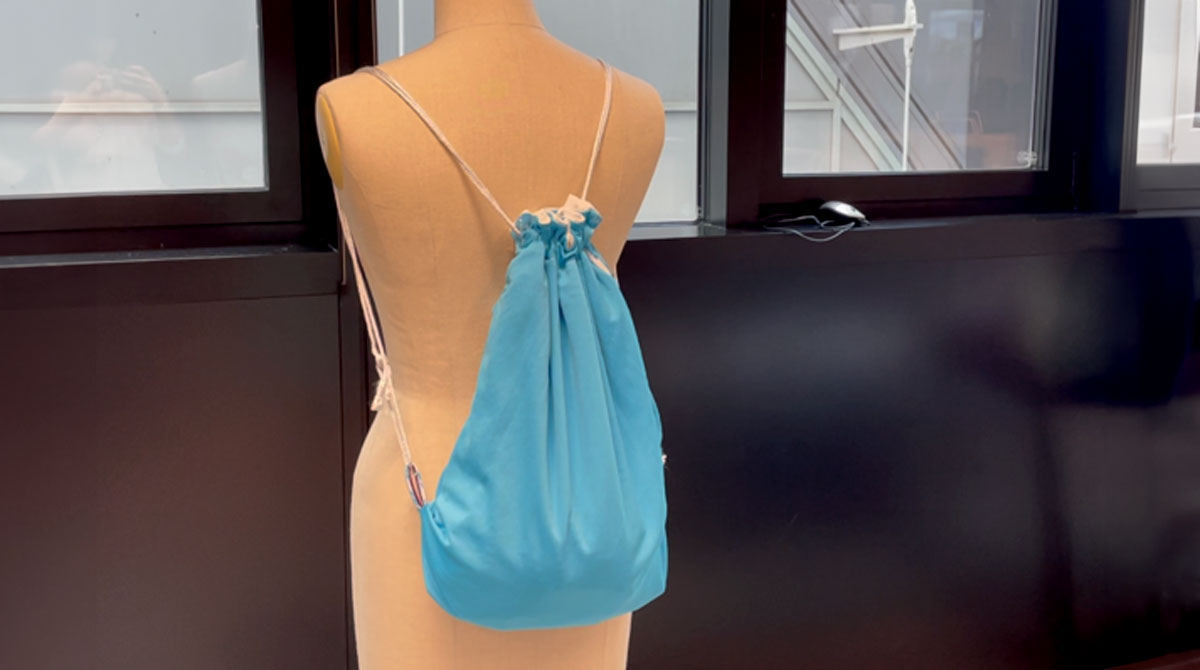
The tutorial provides step-by-step instructions, complete with illustrations, showing how to repurpose a shirt into a functional bag without the need for sewing. The process involves simple techniques like cutting and knotting, making it accessible to all skill levels. This project aligns with contemporary trends of reducing waste and promoting creative reuse in fashion.
Step-by-Step Instructions
You can also follow our step-by-step guide to create your own shoulder bag using simple techniques.
Materials and Tools:
- An unwanted shirt
- A piece of lining fabric that is no smaller than 86cm by 54cm
- Two drawstrings, each 175cm long
- Paper pattern
- A pair of scissors
- A safety pin
- A piece of chalk or a removable marker
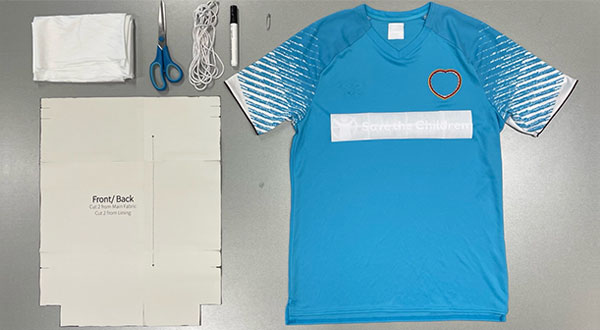
Preparation
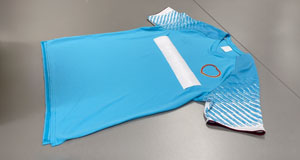
Step 1
Lay your shirt as flat as you can.

Step 2
Cut along the side seam to make the shirt into two pieces of fabric.
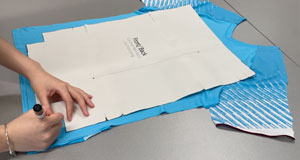
Step 3
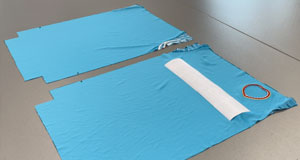
Place the paper pattern on both pieces, trace along the edge, and draw the notches.
Step 4
Cut the two pieces of fabric out along the line.

Step 5
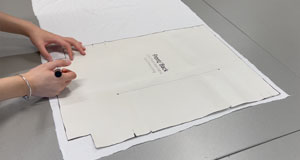
Lay the lining fabric flat.
Step 6
Place the paper pattern on the lining fabric, trace along the edge, and repeat the procedure to get the other piece.
Step 7
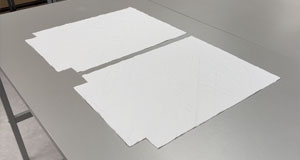
Cut the two pieces of fabric out along the line.
Step 8
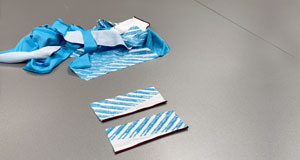
Use the remaining fabric to cut two strips for the loops, each 14cm long and 6.5cm wide.
Loops

Step 1
Take one strip first, and fold it in half along the centre line twice.

Step 2
Sew a straight line to secure it.

Step 3
Repeat steps 1 and 2 to get the other loop.
Outer bag
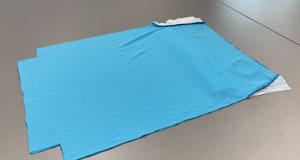
Step 1
Place two pieces of fabric with the right
side facing each other.

Step 2
Sew the two pieces together along the
edge, avoiding the upper gap between
the notches. And leave 1cm above and
below the lower notch unsewn. (Refer
to the image below) There are a total of
two side seams and one bottom seam
that need to be sewn.

Step 3
Take one squared corner, and fold so
that two side seam lines touch.

Leave the red parts unsewn

Step 4
Make both seams flat and sew a straight
line across. Repeat steps 3 and 4 to box
the other corner.

Step 5
Fold the strip, insert the closed end into
the bag through the lower gap, and
leave about 1cm outside.

Step 6
Sew a straight line to secure it. Repeat
steps 5 and 6 to secure the other loop.
Lining bag
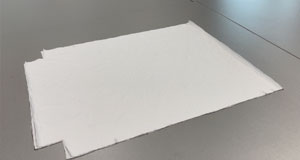
Step 1
Place the two pieces of lining fabric with
the right sides facing each other.
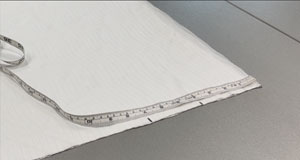
Step 2
Mark an 8cm gap 10cm down from the
top on one side only.

Step 3
Sew the two pieces of lining fabric
together along the edge, avoiding the
gap between the notches. There are a
total of two side seams and one bottom
seam that need to be sewn.

Step 4
Take one squared corner, and fold so
that two side seam lines touch.

Step 5
Make both seams flat and sew a straight
line across. Repeat steps 3 and 4 to box
the corner.
Assemble the bag
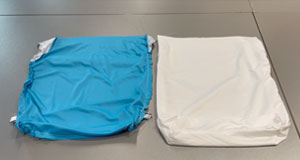
Step 1
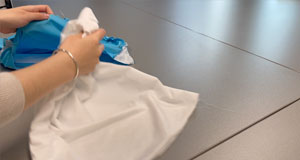
Turn the lining bag right side out, and leave the outer bag wrong side out.
Step 2
Insert the lining bag into the outer bag.

Step 3
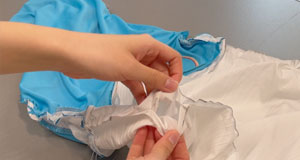
Sew around the edge of the opening as close to the top as you can.
Step 4
Locate the gap on the lining bag.

Step 5
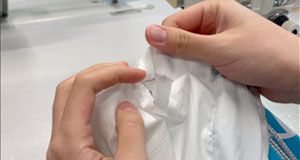
Use the gap to flip the entire bag inside out, so that the right side of the bag is now on the outside.
Step 6
Locate the gap on the lining bag.

Step 7
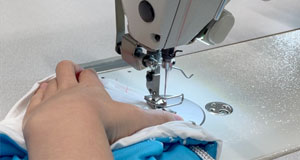
Fold the edges together.
Step 8
Sew a straight line to close the gap.

Step 9
Insert the lining bag into the outer bag

Step 10
Locate the upper gaps on the outer bag on both sides.

Step 11
Use the gaps as a guide to sew two straight lines around the bag—one below and one above— to create a tube
for the drawstring. (Refer to the image below)

Step 12
Thread the drawstring through the tube, then through the loop, and knot it. Repeat this procedure for the other
drawstring.

Leave the red parts unsewn
The completed drawstring bag
