The video tutorial provides step-by-step instructions, complete with illustrations, showing how to make a plushie.
Step-by-Step Instructions
You can also follow our step-by-step guide to create your plushie.
You can choose to make the plushie using a sewing machine or a thread and needle. Remember to use a white coloured thread so that it is not visible against the frabic.
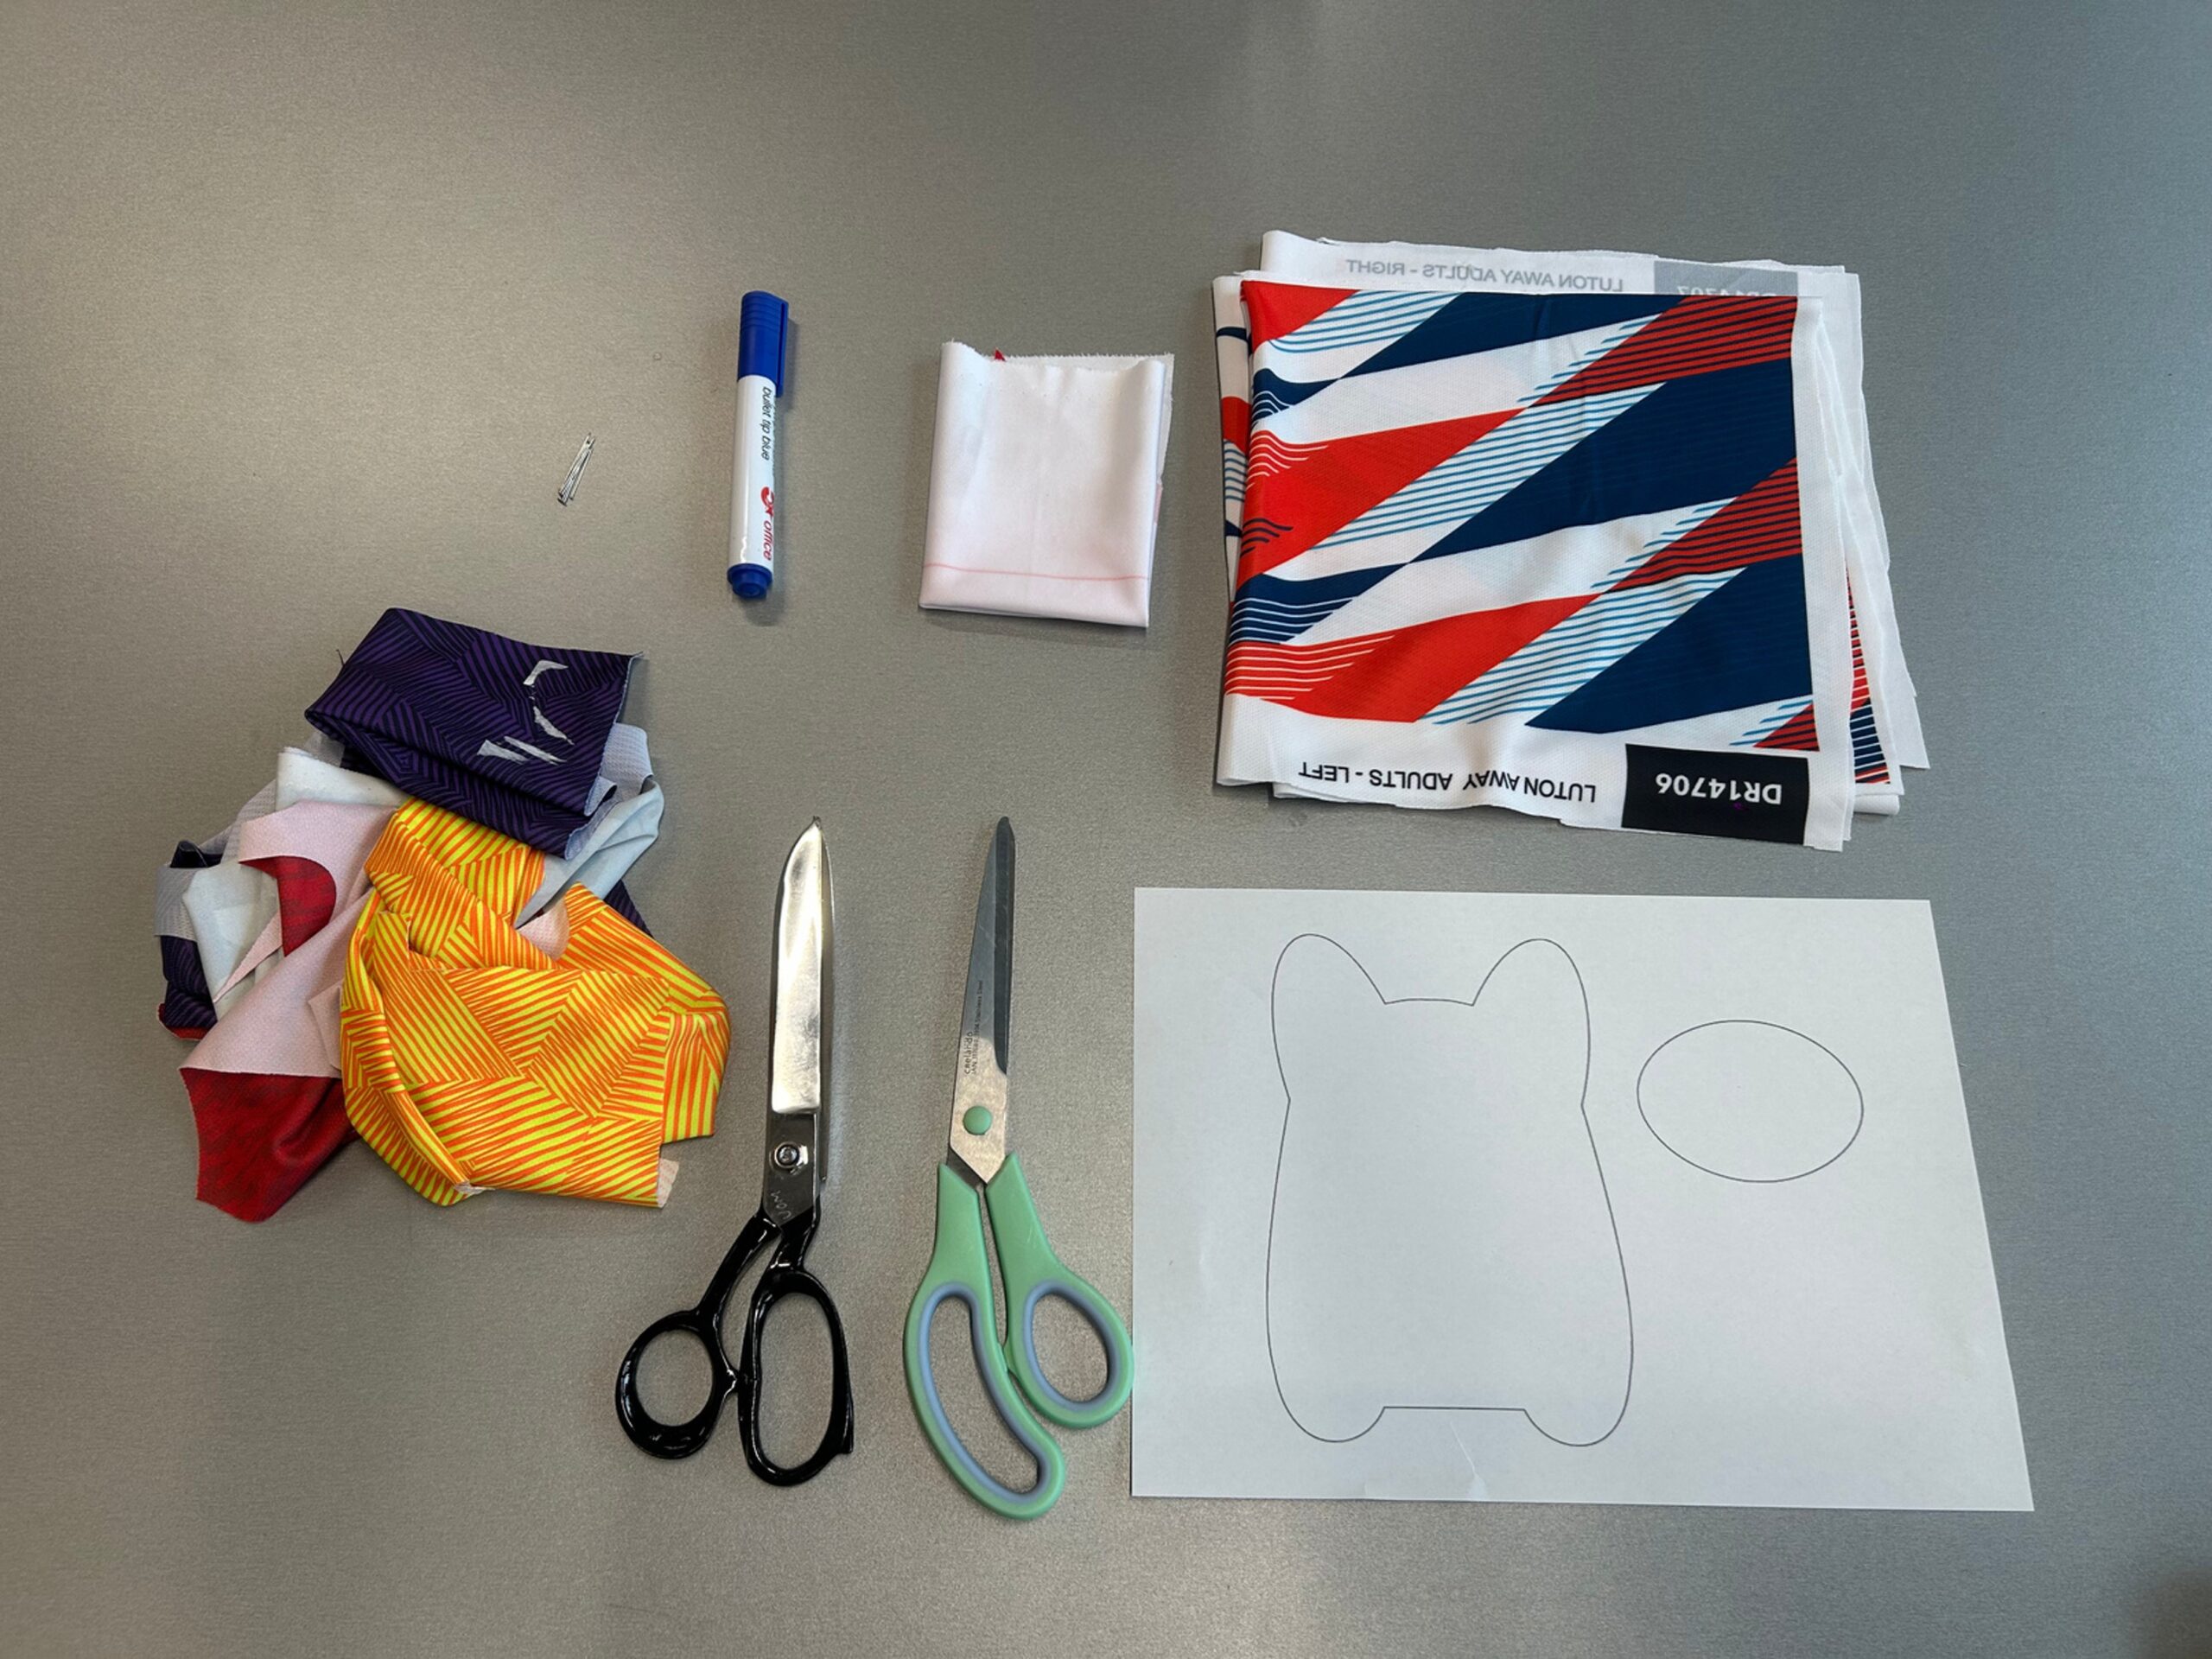
Materials and Tools:
- Assemble materials + print the cutout
- A pair of paper scissors
- A pair of cloth scissors
- A marker pen
- Scrap of coloured cloth
- Scrap of white cloth
Step 1
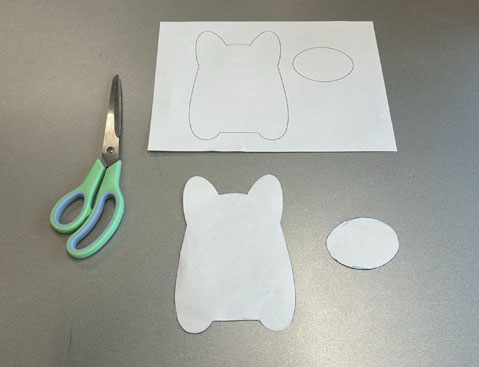
Cut the print out to make a stencil for the pattern piece.

Step 2
Use the stencil cutout to trace the design onto the fabric.
Step 3
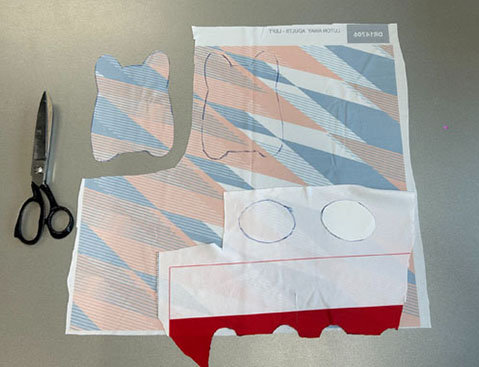
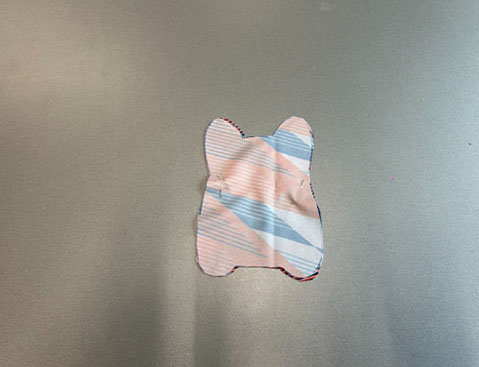
Use Cloth scissors to cut out the coloured fabric and the white fabric.
Step 4
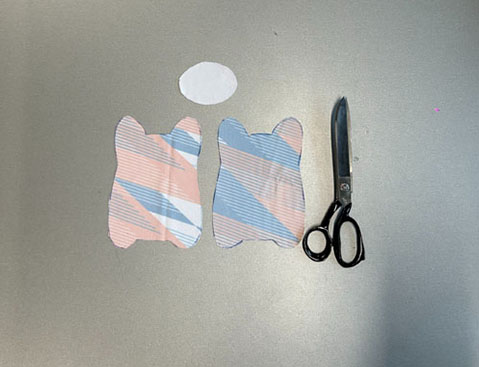
Repeat the step to get one more coloured fabric cutout.
Step 5
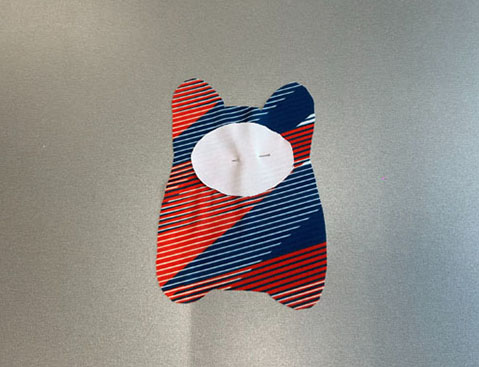
Secure the white circle onto one coloured fabric cutout using a pin.
Step 6
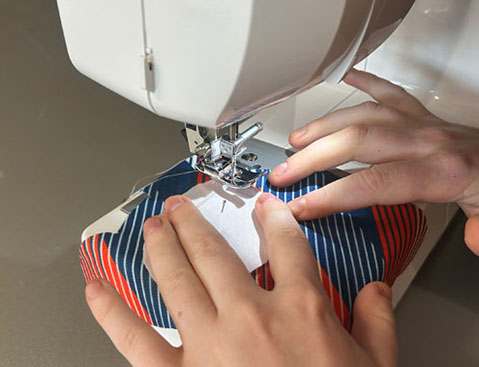
Use a sewing machine or a needle/thread to stitch along the border of the white circle onto the fabric.
Step 7
Place both the fabrics facing each other and secure the same with a pin.
Step 8
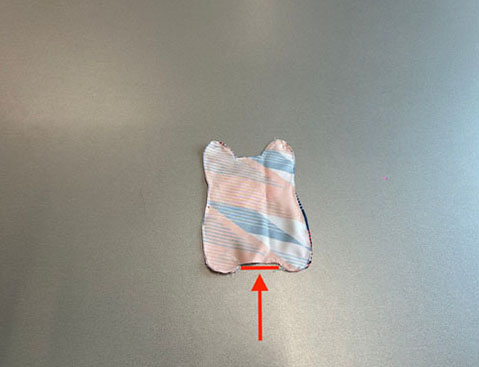
Stitch along the border of the cutout. Leave the area highlighted in the photo unstitched.
Step 9
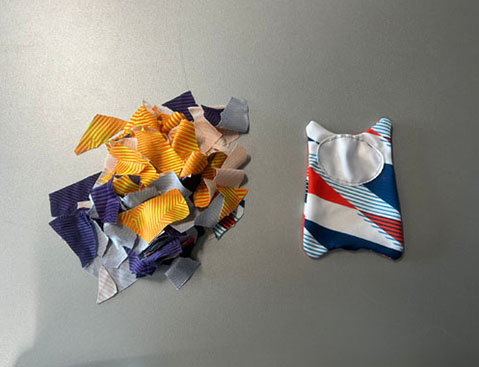
Turn the plushie inside out and use the unstitched portion to stuff the excess scrap fabric into the plushie.
Step 10
Upon stuffing, stitch the gap.
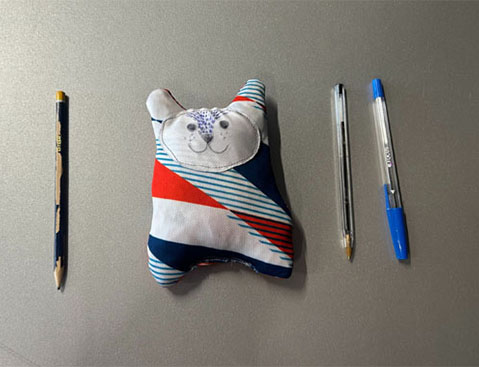
Step 11
Use non-toxic fabric markers to draw the face of the plushie.
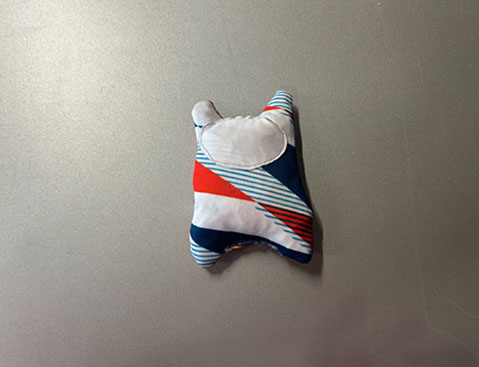
The completed plushie
This tutorial used a sewing machine, you can you a needle & thread to make one too!
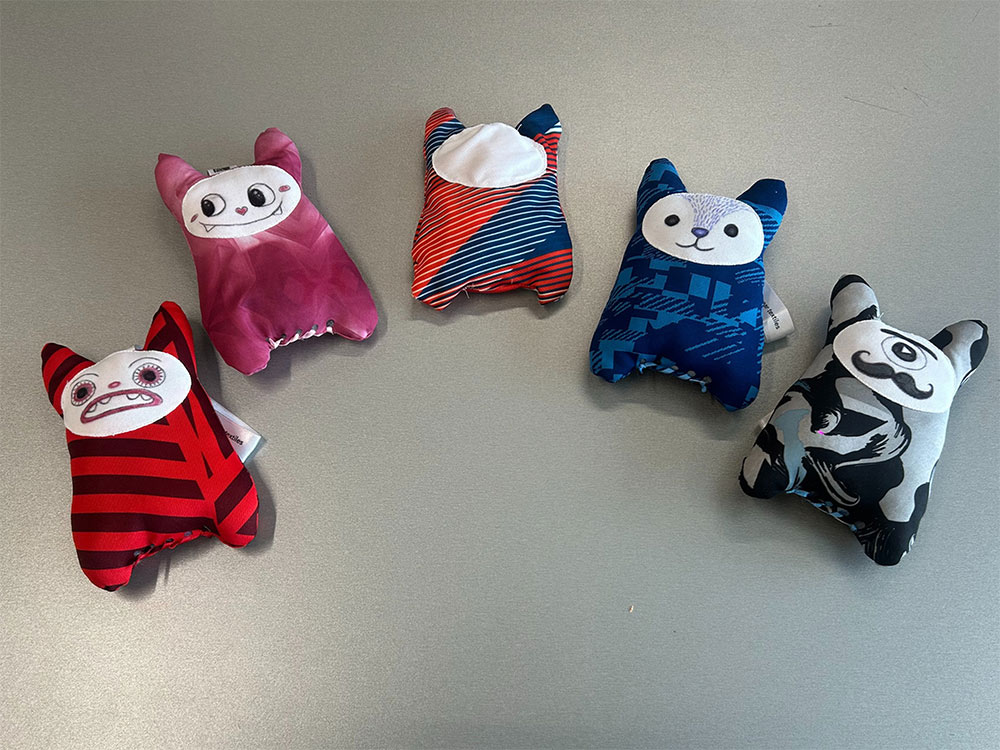
You can personalise it by adding a handle to make it into a keychain or bag charm!
Make as many as you want by repeating the procedure!
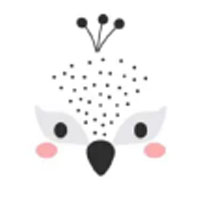
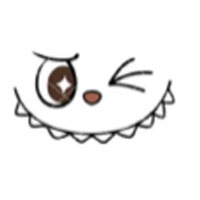
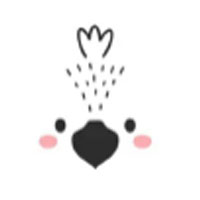
Not sure what design to use for the face? Check out the inspirations below